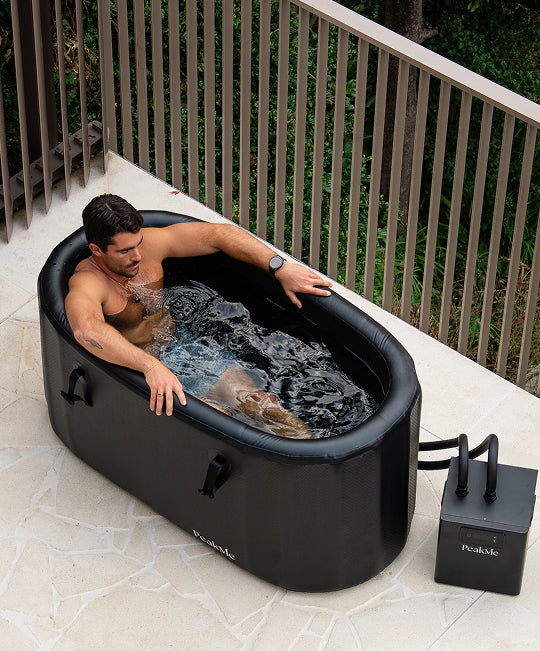
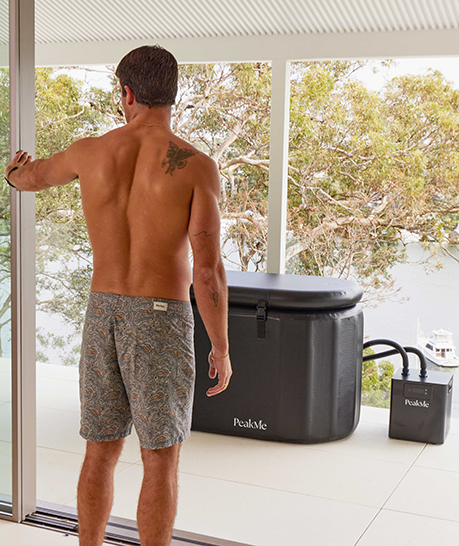


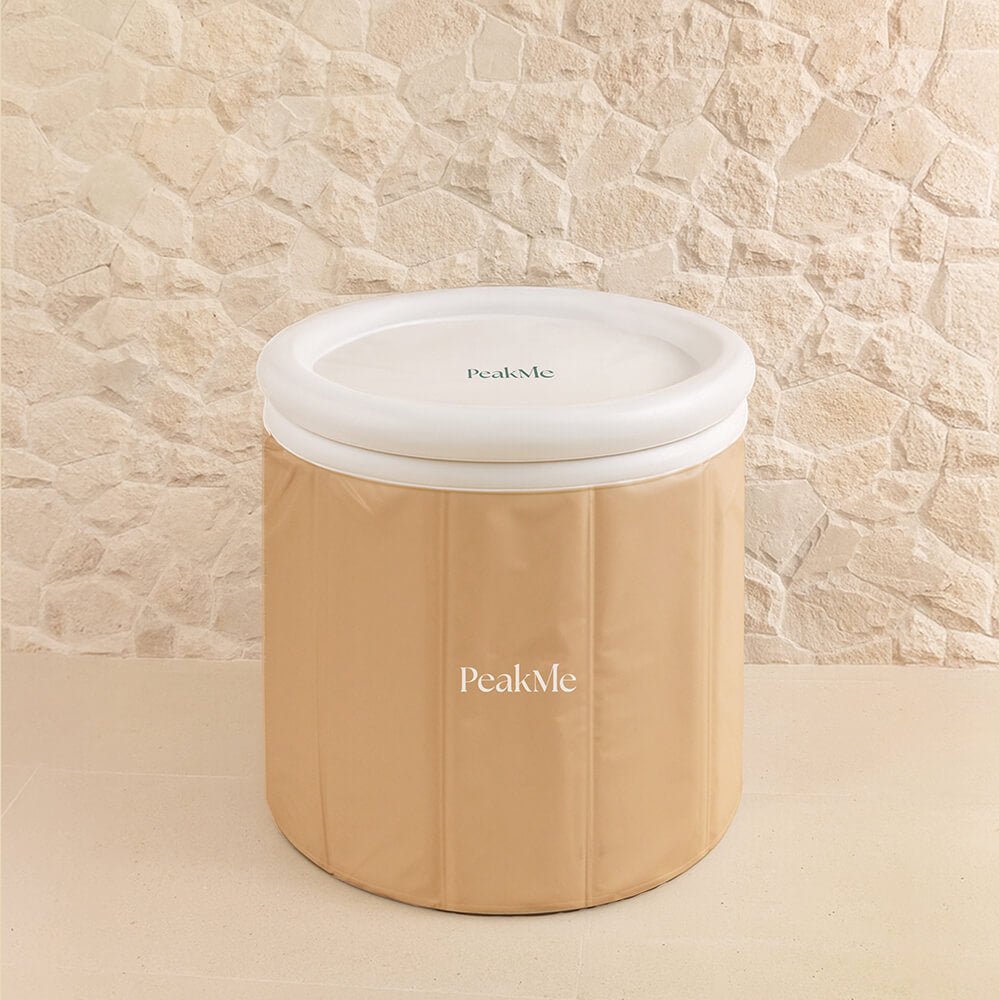

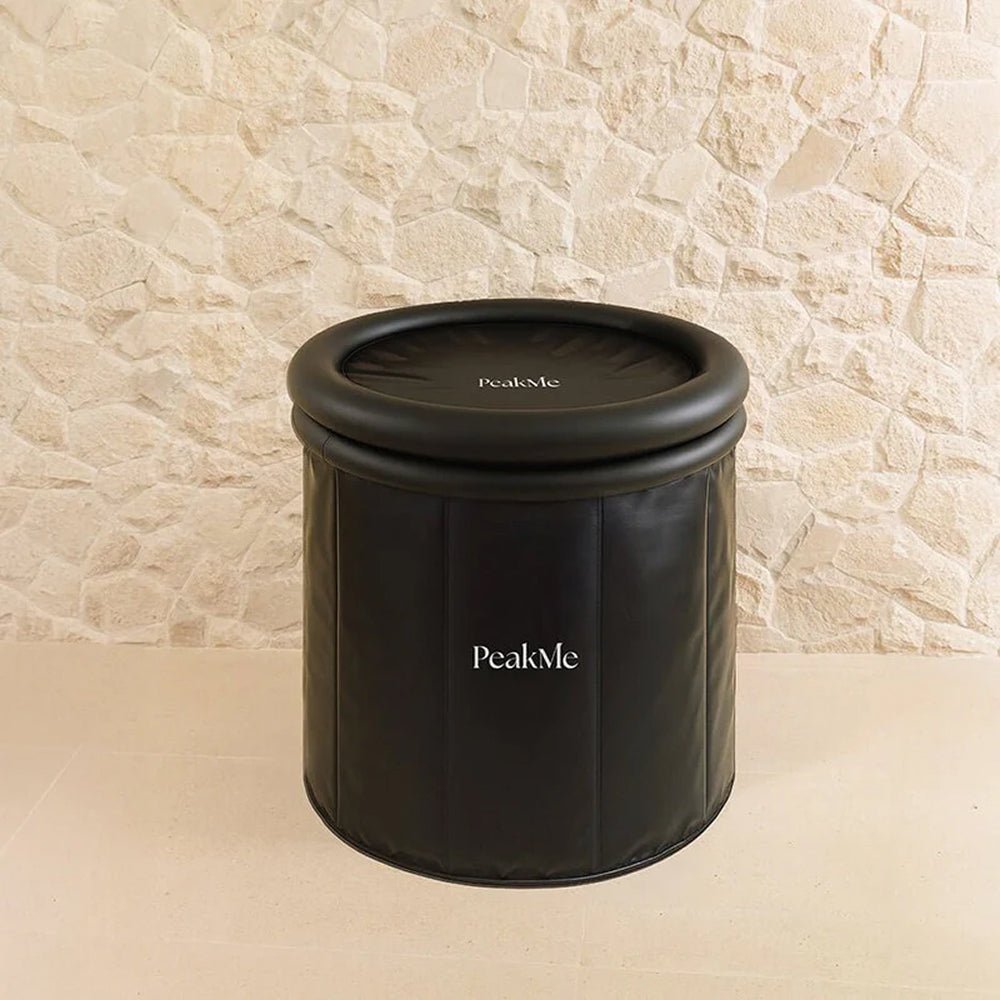
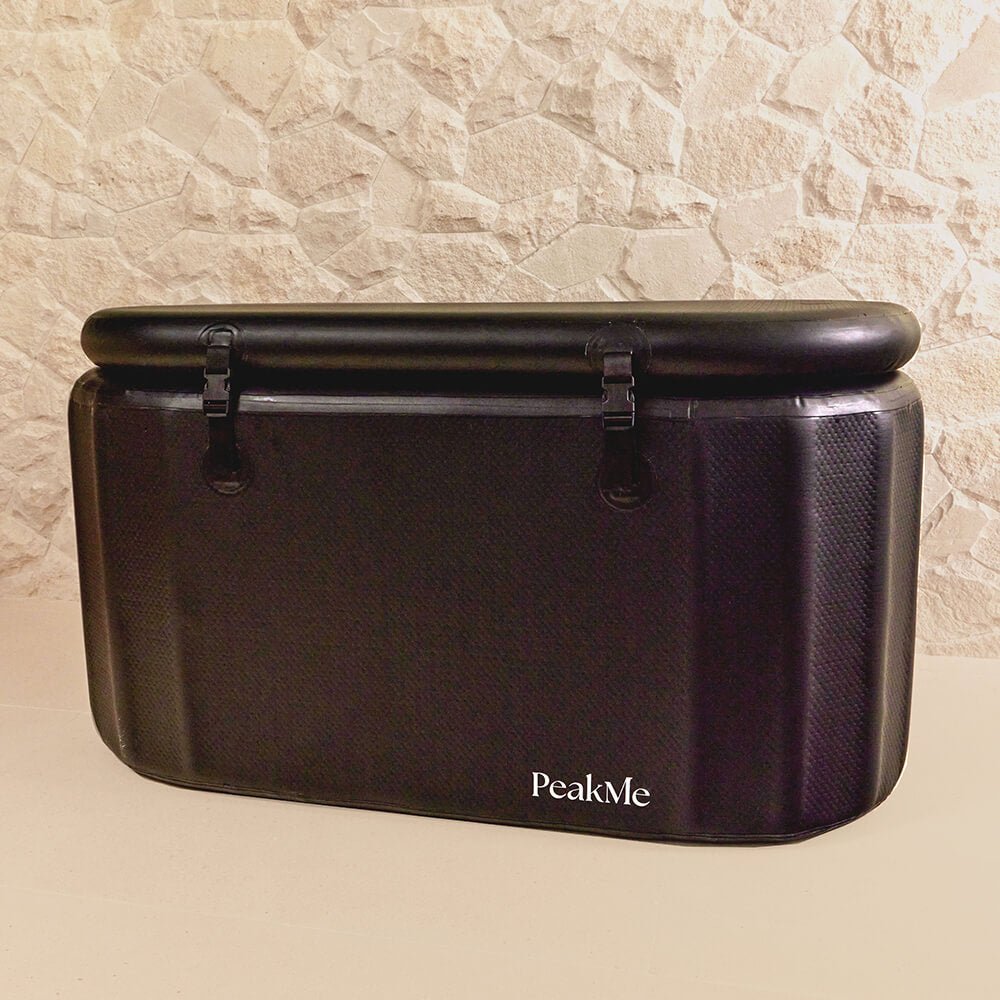


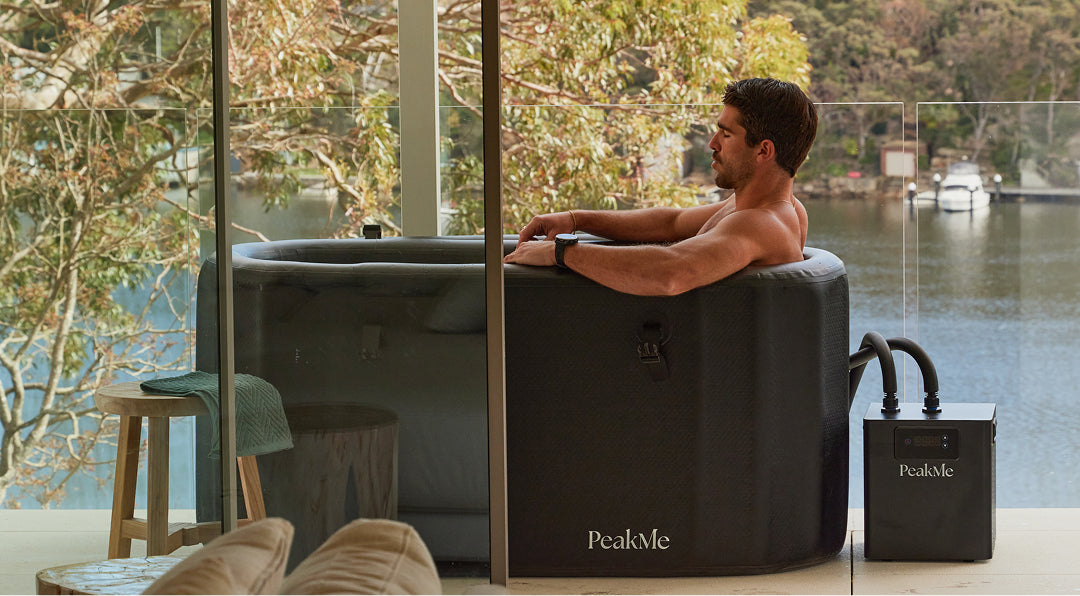
Your PeakMe Flow Ice Bath is precision-built for high-performance minds and bodies. Engineered with a 10 cm thick, multi-layered shell, a thermal-seal inflatable lid and airtight design, it delivers elite insulation, next-level durability and seamless functionality.
The Flow keeps your recovery on point and your routine uninterrupted — crafted for those who demand excellence from their tools and consistency from their rituals.
Before You Dip
- Gear Down: Minimal clothing = maximum cold exposure.
- Hydrate: Drink water before and after your plunge to keep your body balanced.
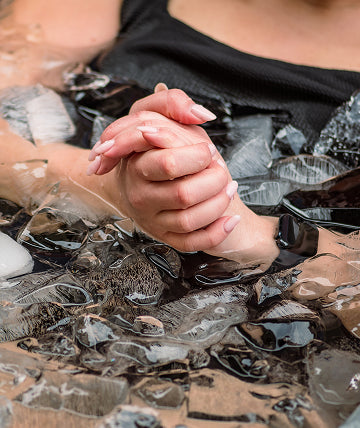
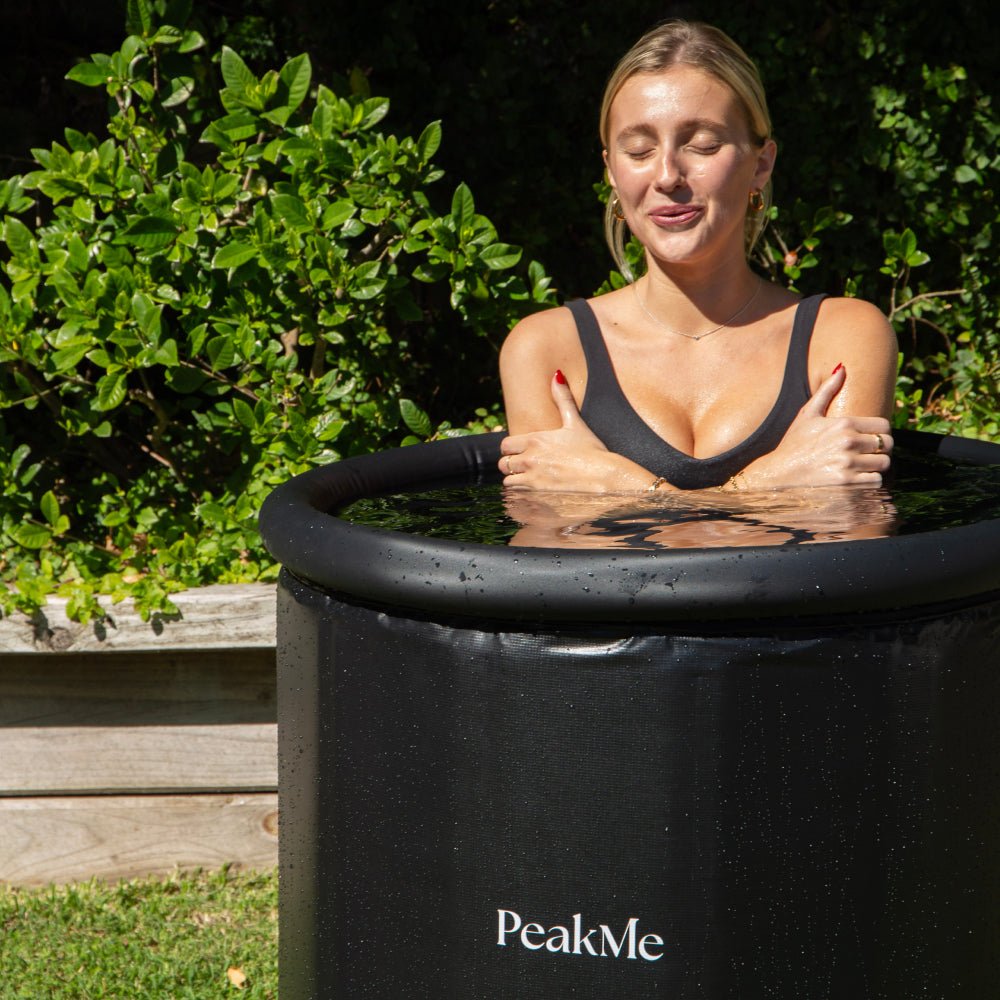
Using Your Ice Bath
- Set Up: Fill with cold water and add ice to reach your target range (2–16°C / 35–60°F). Entry: Step in slowly, focus on calm, steady breathing.
- Duration: Start with 2–3 minutes. Work up gradually — advanced users may go 6–10 minutes.
- Listen to Your Body: If you feel numbness, dizziness, or sharp pain, step out immediately.
Post-Session Body Care
- Warm Up Naturally: Let your body temp rise slowly before applying heat.
- Hydrate: Replenish with water or electrolytes. Shower (Optional): Rinse with lukewarm water — or contrast with heat if desired.
- Rest & Reset: Give yourself 10–15 minutes to relax, breathe, and enjoy the afterglow.
Session Guide & Peak Protocols
- Energy & Focus: 2–4 minutes in the morning for mental clarity and alertness.
- Muscle Recovery: 3–6 minutes post-workout to reduce soreness and support recovery.
- Resilience Training: Longer sessions (5–10 minutes) to build mental toughness — advanced only.
Before You Dip
- Gear Down: Minimal clothing = maximum cold exposure.
- Hydrate: Drink water before and after your plunge to keep your body balanced.
Using Your Ice Bath
- Set Up: Fill with cold water and add ice to reach your target range (2–16°C / 35–60°F). Entry: Step in slowly, focus on calm, steady breathing.
- Duration: Start with 2–3 minutes. Work up gradually — advanced users may go 6–10 minutes.
- Listen to Your Body: If you feel numbness, dizziness, or sharp pain, step out immediately.
Post-Session Body Care
- Warm Up Naturally: Let your body temp rise slowly before applying heat.
- Hydrate: Replenish with water or electrolytes. Shower (Optional): Rinse with lukewarm water — or contrast with heat if desired.
- Rest & Reset: Give yourself 10–15 minutes to relax, breathe, and enjoy the afterglow.
Session Guide & Peak Protocols
- Energy & Focus: 2–4 minutes in the morning for mental clarity and alertness.
- Muscle Recovery: 3–6 minutes post-workout to reduce soreness and support recovery.
- Resilience Training: Longer sessions (5–10 minutes) to build mental toughness — advanced only.
- Hydrate Before & After: Water first; add electrolytes if you’re sweating or pairing with sauna.
- Start Small: Beginners should keep sessions short and steady. Build tolerance over time.
- Target Range: Stay between 2–16°C (35–60°F) for benefits. ~10°C (50°F) is a good baseline.
- Breathing Matters: Slow, controlled inhales and exhales help manage the cold shock.
- Consistency Wins: 3–5 plunges per week bring the best results.
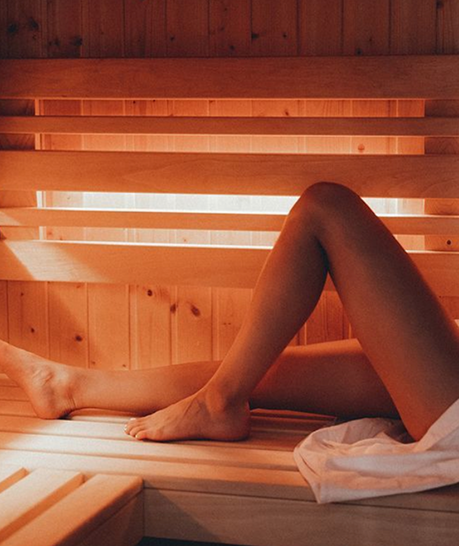
- Combine Protocols: Pair with sauna sessions for powerful contrast therapy.
- Rinse with warm water before first use and after every session. Wipe down with a clean, dry cloth.
- Use only mild dish soap or diluted vinegar. Avoid bleach or harsh chemicals as this may degrade the materials and waterproof seals.
- Dry fully after each use to avoid mould or mildew.
- Monitor the water for cloudiness, odour or residue - all signs it's time to drain and refresh. Aim to change the water every few uses or at least twice a week, depending on frequency and climate. If in doubt, swap it out.
- Clean 2–3 times a week for best hygiene.
- Avoid placing near sharp objects.
- Use included patch kit for minor punctures.
- Your Ice Bath can be filled with cold or hot water up to 50°C. Always start filling with room temperature water, adjusting to your desired temperature as the Ice Bath gets closer to full.
If the Ice Bath is losing air pressure, it is important to investigate for leaks. To locate the leak, mix soap and water in a spray bottle and spray around the valve. If bubbles form, check your valve seating and base and be sure the valve insert is screwed tight.
Punctures less than 1/8” in size can be repaired simply without a patch. Deflate your Ice Bath, then clean and dry the area to be repaired. Apply a small drop of glue to cover the puncture, and let it dry for 12 hours. If your board needs repair, use the patches in the repair kit and follow these steps:
- Deflate the Ice Bath, lay it flat and wait for it to dry.
- Cut a patch that is 2 inches larger than the tear/rip all the way around.
- Use alcohol to clean the repair area.
- Apply three coats of adhesive to the patch and the Ice Bath. Wait 5 minutes in between each coat.
- Place the patch over the tear/rip. The adhesive will react quickly, so make sure the positioning is precise/accurate. Use the roller to ensure the patch lays flat and even.
- Wait 24 hours before re-inflating the ice bath.
Frequently asked questions
Ice baths aren’t just for elite athletes anymore. Australians everywhere are using at-home cold water immersion to:
> Reduce inflammation and muscle soreness
> Boost mental resilience and energy
> Improve recovery time between workouts
> Support immune health and longevity
> With the right setup, you can get all these benefits safely from home — no gym membership required.
- Recovery: 2–10 minutes to help reduce muscle inflammation and soreness.
- Beginners: Start warmer and shorter, increasing duration and intensity gradually.
- Experienced: 5–15 minutes for deeper conditioning while avoiding overexposure.
Before:
> Breathe deeply, focus, and set an intention
> Avoid caffeine or heavy meals beforehand
After:
> Warm up naturally (not with a hot shower)
> Rehydrate and give your body time to recalibrate
Journal your experience - track how you feel mentally and physically
At-home ice baths offer convenience, better temperature control, privacy, and long-term cost savings compared to traditional facilities that require specific locations and can be costly over time.
We recommend starting at a temperature around 10-15 degrees Celsius.
We recommend the PeakMe Core Ice Bath. It is portable, quick to setup, lightweight and versatile. The Core Ice Bath is suitable for group events and individuals alike, cost effective and comes with a thermometer/timer for session tracking and an absorbent towel for drying, for the complete ice bath experience.
One of the most common questions we get is, "How much ice do I need for my ice bath?" The answer depends on the volume of water and the desired temperature.
To make this easy, PeakMe has developed an Ice Bath Temperature Calculator. This handy tool helps you determine the exact amount of ice needed to achieve your optimal ice bath temperature. Simply input the current water temperature, the volume of your ice bath, and your target temperature, and the calculator will do the rest. It's the perfect way to ensure you get the most effective and refreshing ice bath every time.
To clean the ice bath, first drain all the water. Then, rinse the bottom and sides with a hose. Use mild soap or diluted vinegar to clean without damaging the tub. Don't use harsh cleaning chemicals. Ensure to prevent dirt, leaves, oils, sunscreens and other contaminants from entering the ice bath.
Always cover the ice bath with its lid when not in use to prevent debris from entering. If not adding any chemicals or using an suitable filter/sterilisation device, change the water weekly. After draining, wash the inside surfaces with warm soapy water to keep it clean. Installing a high-quality water filtration system can also help keep the water clean (use filters with plain clean water only, unless specified by the manufacturer).
If you use the ice bath daily, it's advisable to change the water at least once every two weeks. For optimal cleanliness, weekly water changes are recommended.
With proper maintenance, such as covering the bath and using recommended additives like bromine (others listed below), the water can be kept clean for 3-5 days or longer. Some users manage to keep it for up to two weeks with diligent upkeep. This can be extended for a practically unlimited period when using a UV sterilisation & water filter setup, however the walls of the ice bath may require cleaning occasionally, sometimes requiring the bath to be drained.
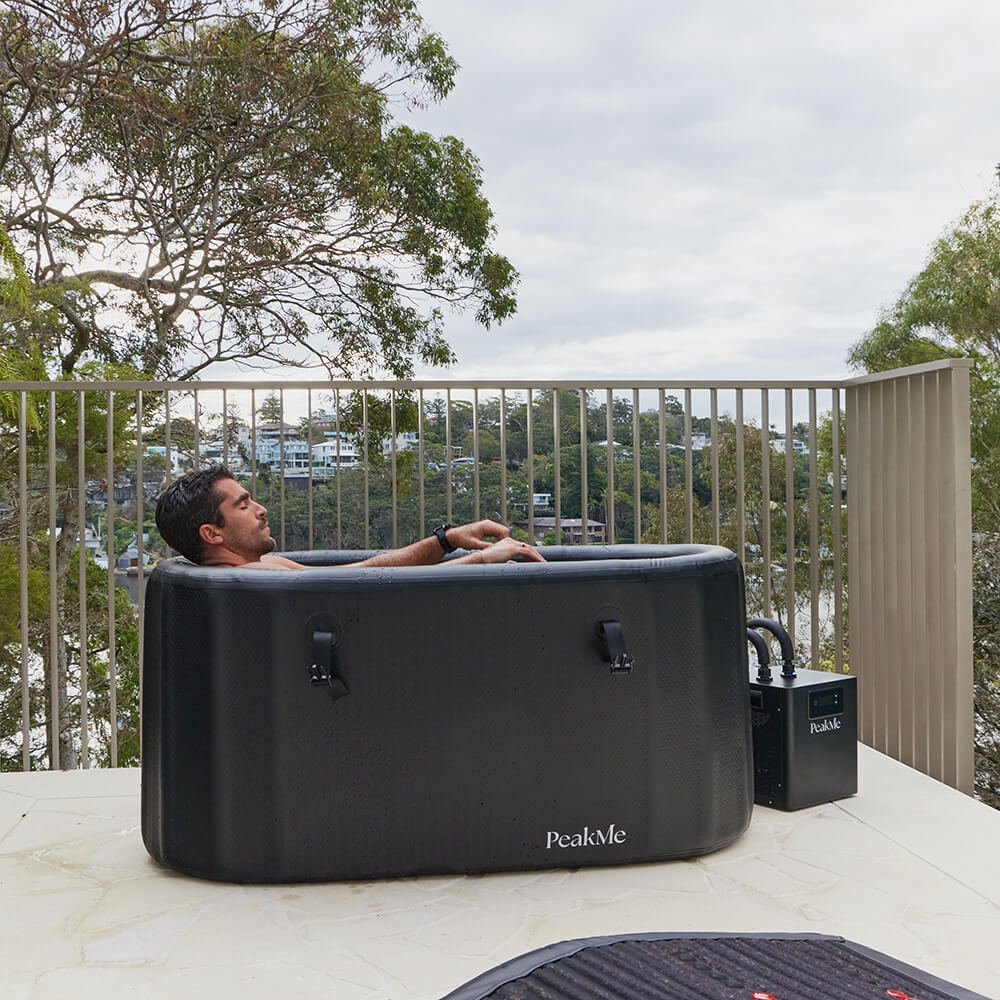
Yes, installing a water filtration system is highly recommended like our Icon Chiller. These systems can remove impurities such as minerals, sediments, and bacteria, ensuring clean and safe water for your ice bath. Some high-end ice bath chillers feature built-in filtration, including options with UV sterilisation. Ensure regular maintenance of the filtration system for optimal performance.
Yes, ultraviolet (UV) light sterilises water by killing or inactivating harmful microorganisms. Use a UV steriliser to treat the water in your ice bath, especially effective in maintaining hygiene without chemicals. Warning: Ensure proper installation and regular maintenance to keep the UV system functioning correctly. Do not look at a UV lamp during operation.
Yes, adding Epsom salts to your ice bath is usually safe and can provide additional health benefits by supplementing magnesium levels. However, avoid using chloride salts such as table salt or road salt, as they are not safe.
Yes, bromine tablets or powder can be used to keep the water clean for up to a month. Bromine is usually gentle on the skin and lasts longer in cold water compared to chlorine. Use small quantities appropriate for the smaller volume of the ice bath.
Join The Pulse
And get 10% off your first order.
Where progress lives and breathes. The quiet commitment that no one sees. For those who know it’s not just what you do, but how you do it.
Consistently. Thoughtfully. Powerfully. Made for more. This is The Pulse.