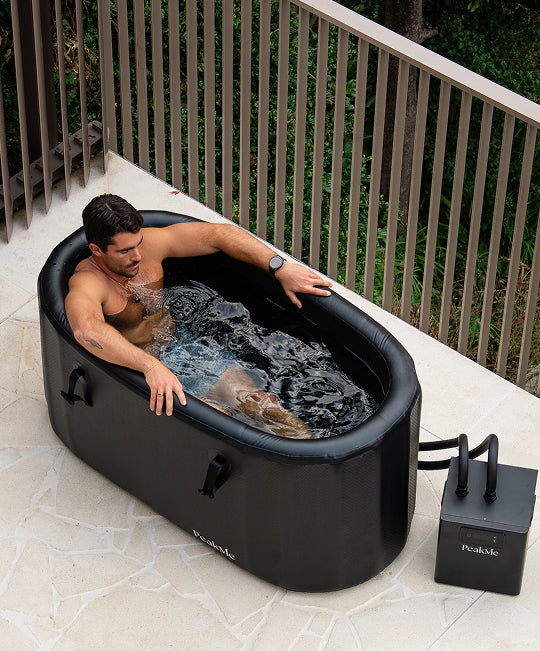


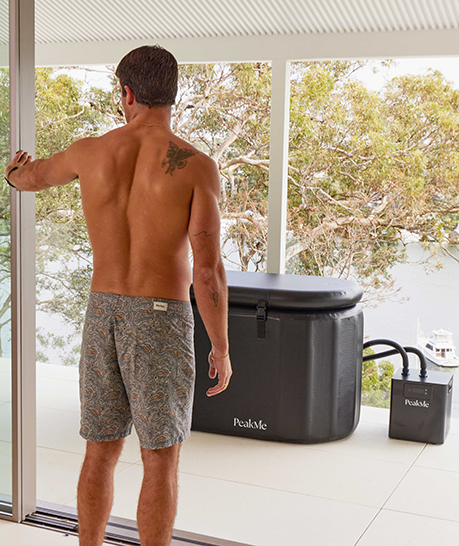


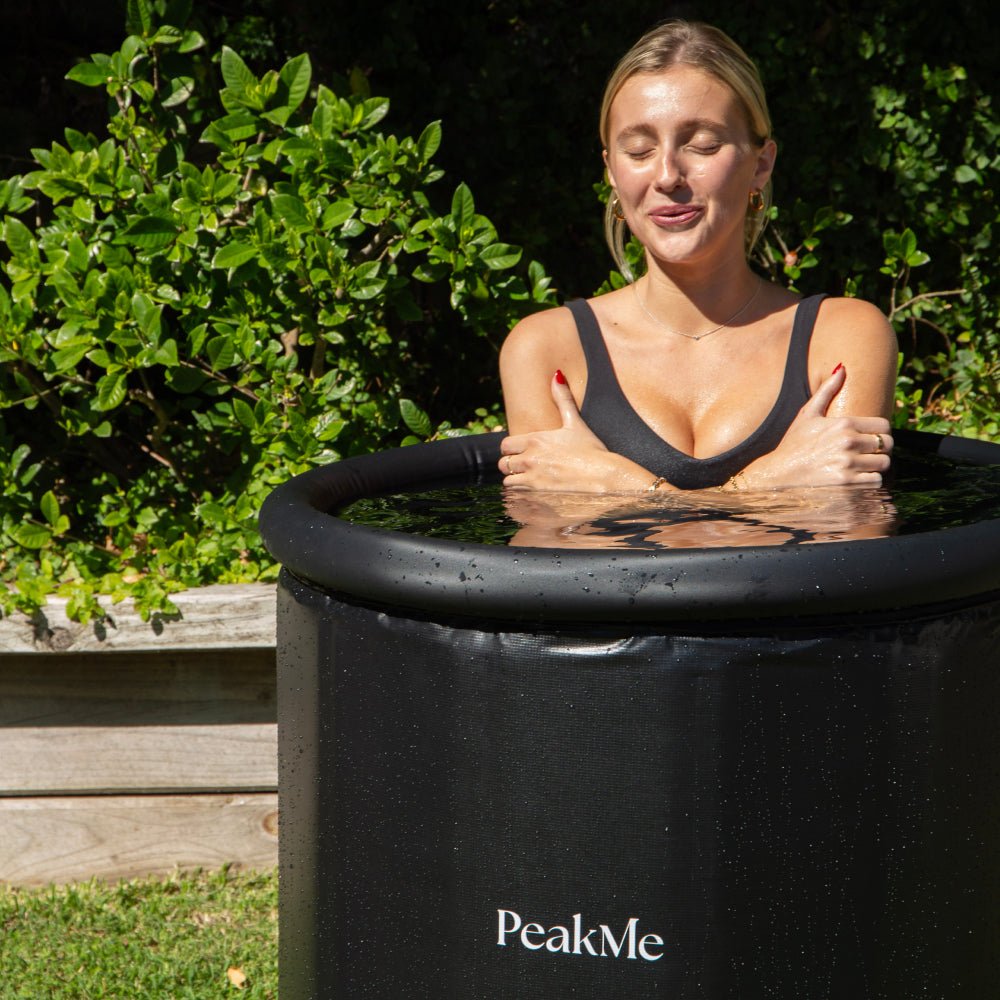


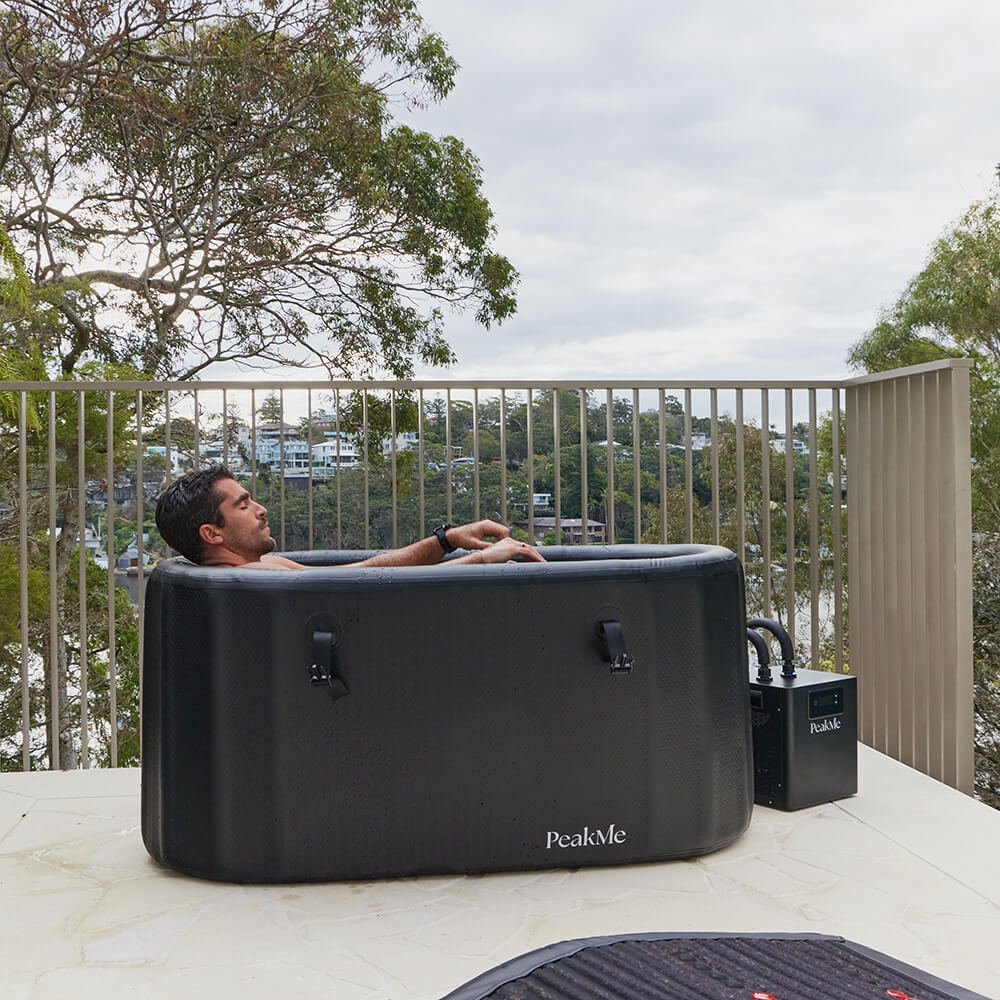


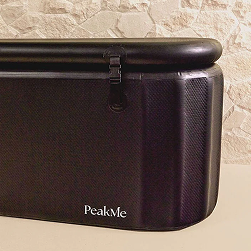
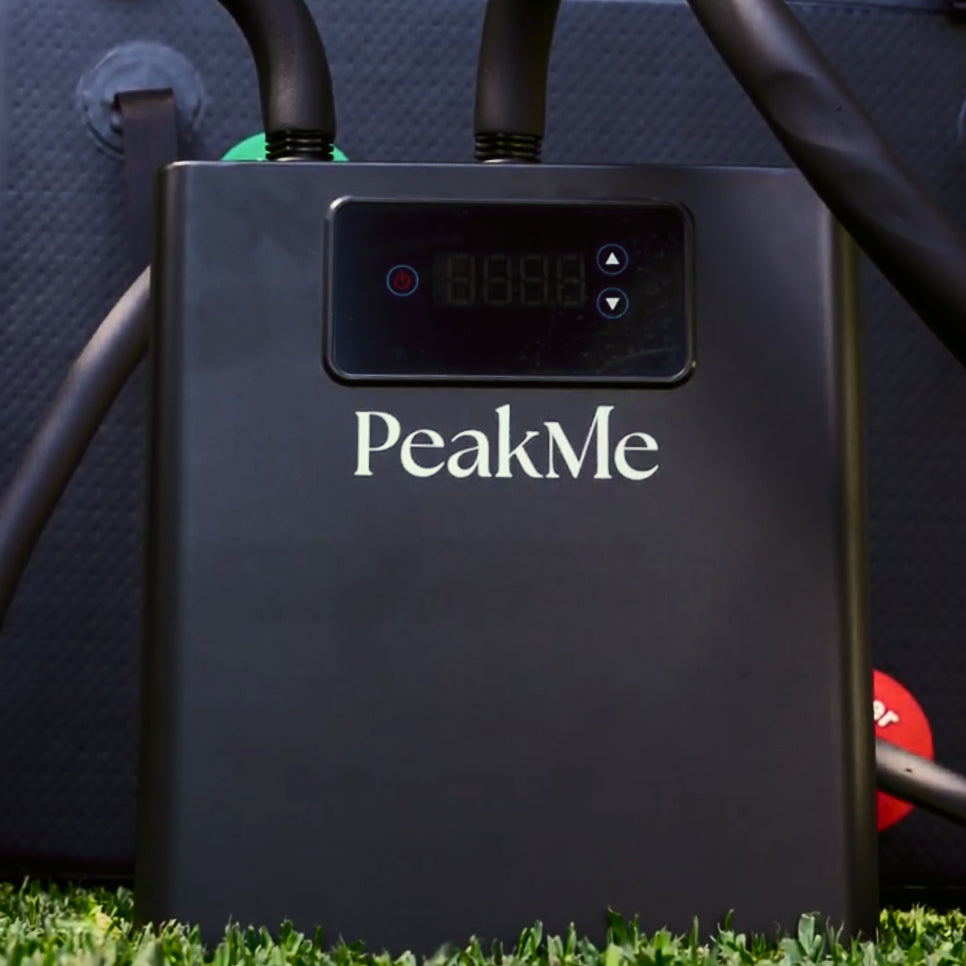
The PeakMe Icon Chiller is built to raise the standard. With a high-powered 0.3HP cooling system, titanium tube heat exchange and intelligent digital controls, it’s made to keep your recovery consistent and controlled. Pair it with your PeakMe Ice Bath to maintain cold immersion at your ideal temperature, on your terms.
Set Up
Step by Step
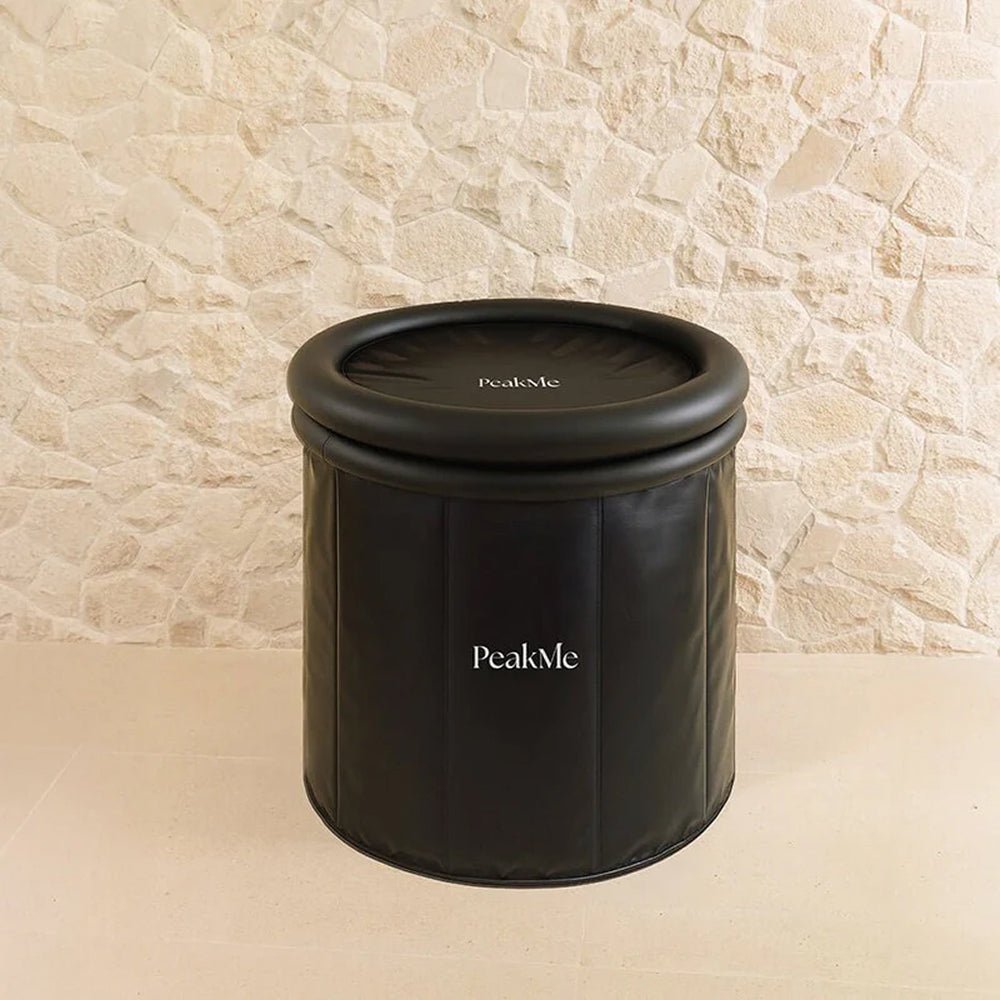
Before You Begin: Make sure you have first assembled your PeakMe Ice Bath according to the manual instructions before continuing. Do not fill the tub with water before the Icon Chiller is set up.
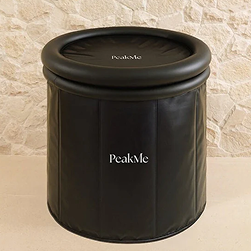

Setup Ice Bath: Follow the individual instructions linked above, for demonstration purposes, we’ve referenced the Flow Ice Bath
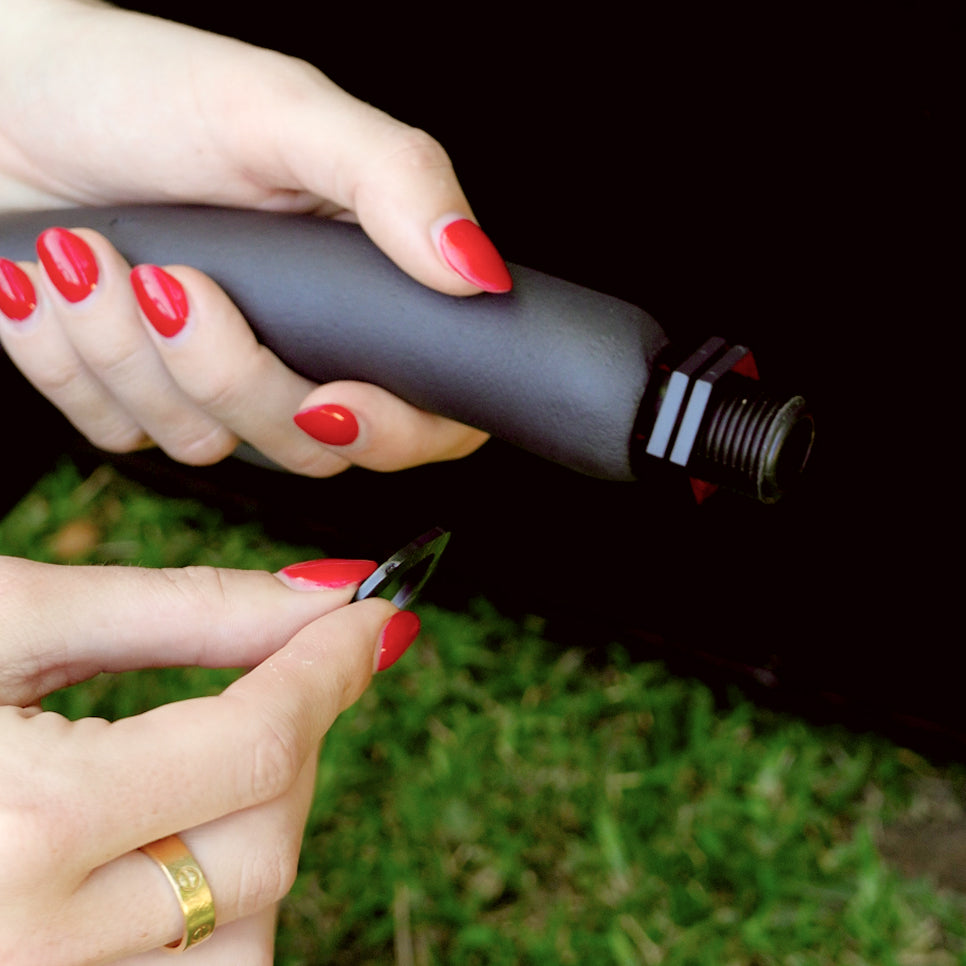
Prep the valves: Add the rubber valve to the male connector while attaching all piping.
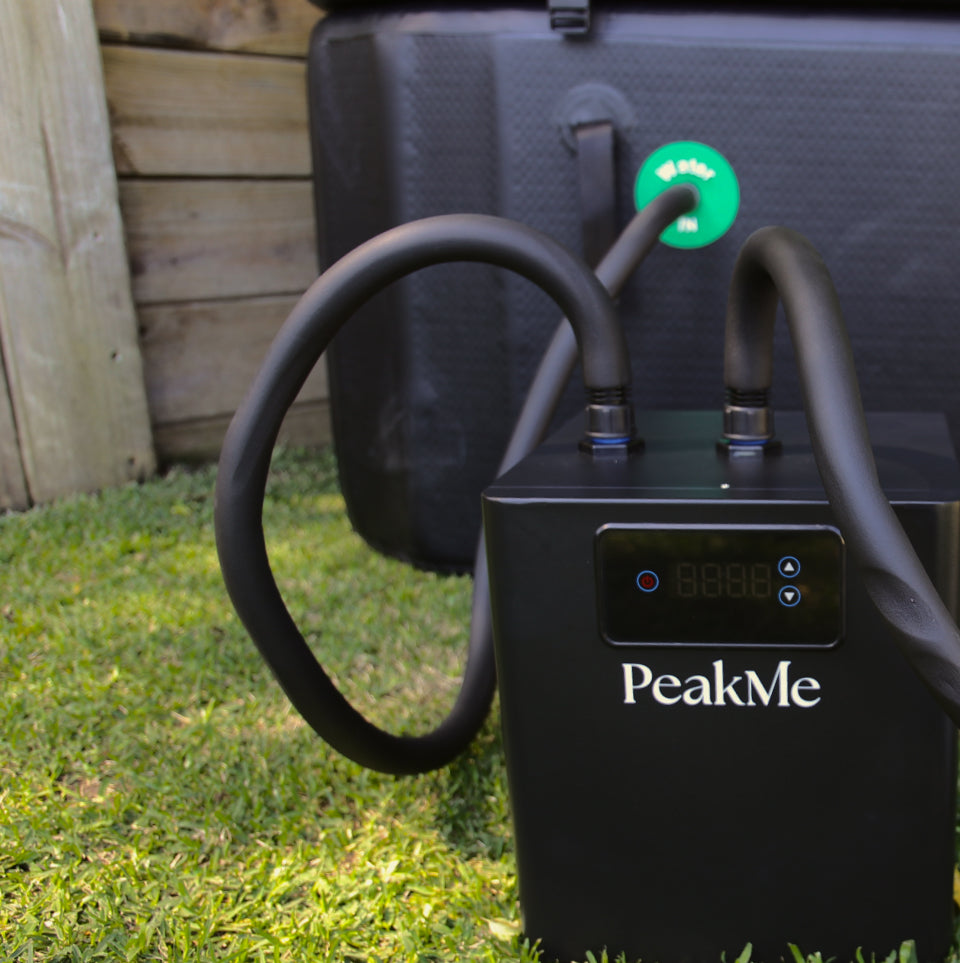
Connect Hose 1 (Longer): To the top of the ice bath using the male end. Connect the other end of Hose 1 to the chiller.
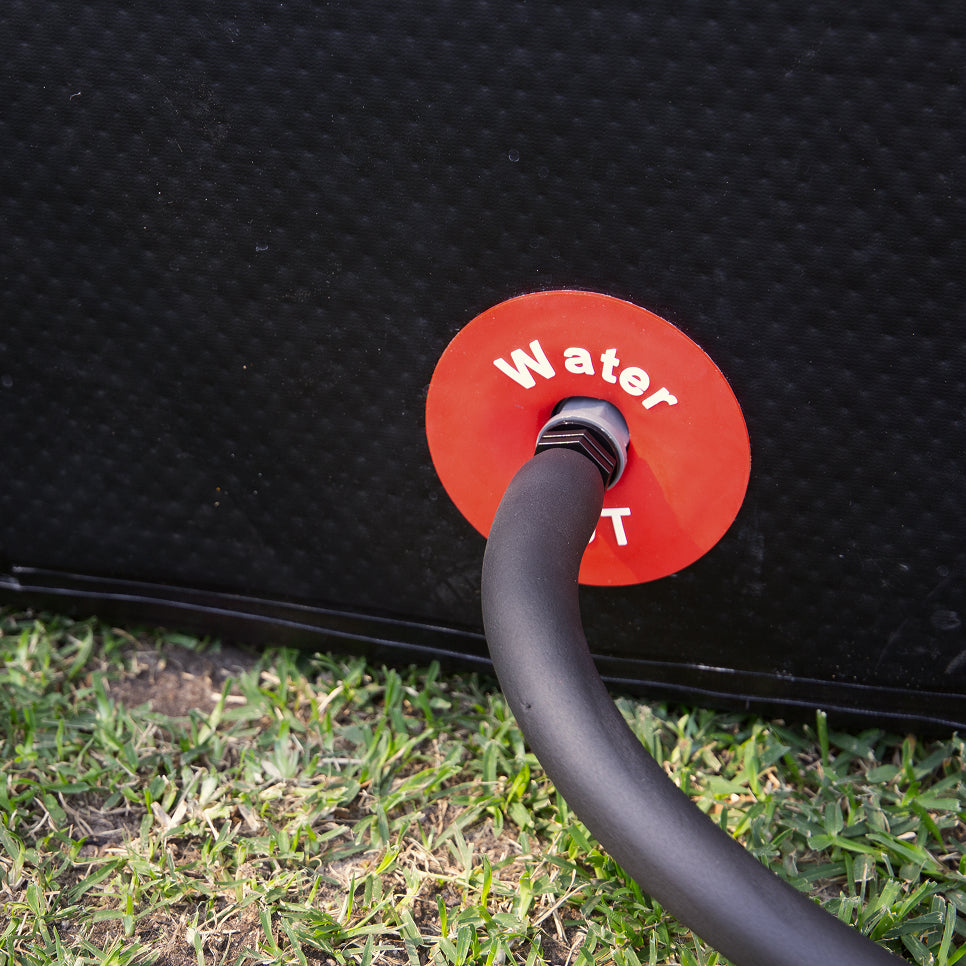
Connect Hose 2: to the bottom water port.
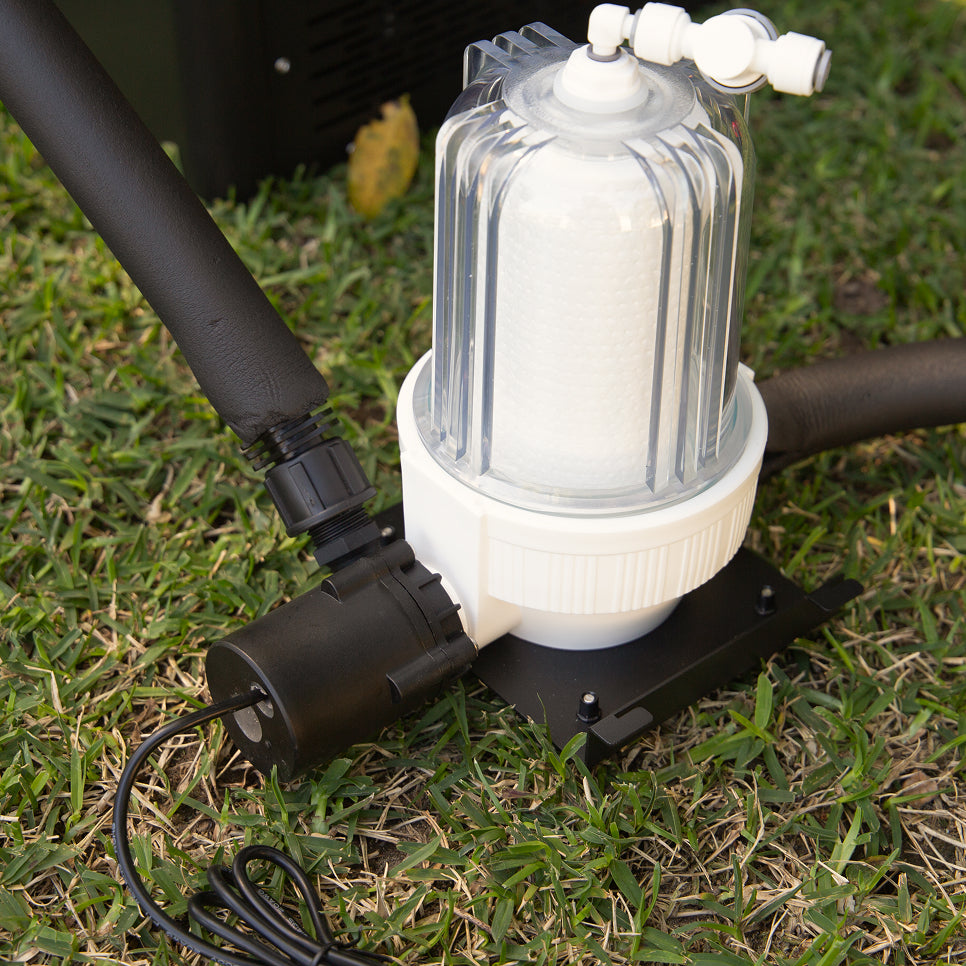
Connect: the other end of Hose 2 to the filter. Open the Ice Bath water shut-off valve by turning the top bar to allow water flow.
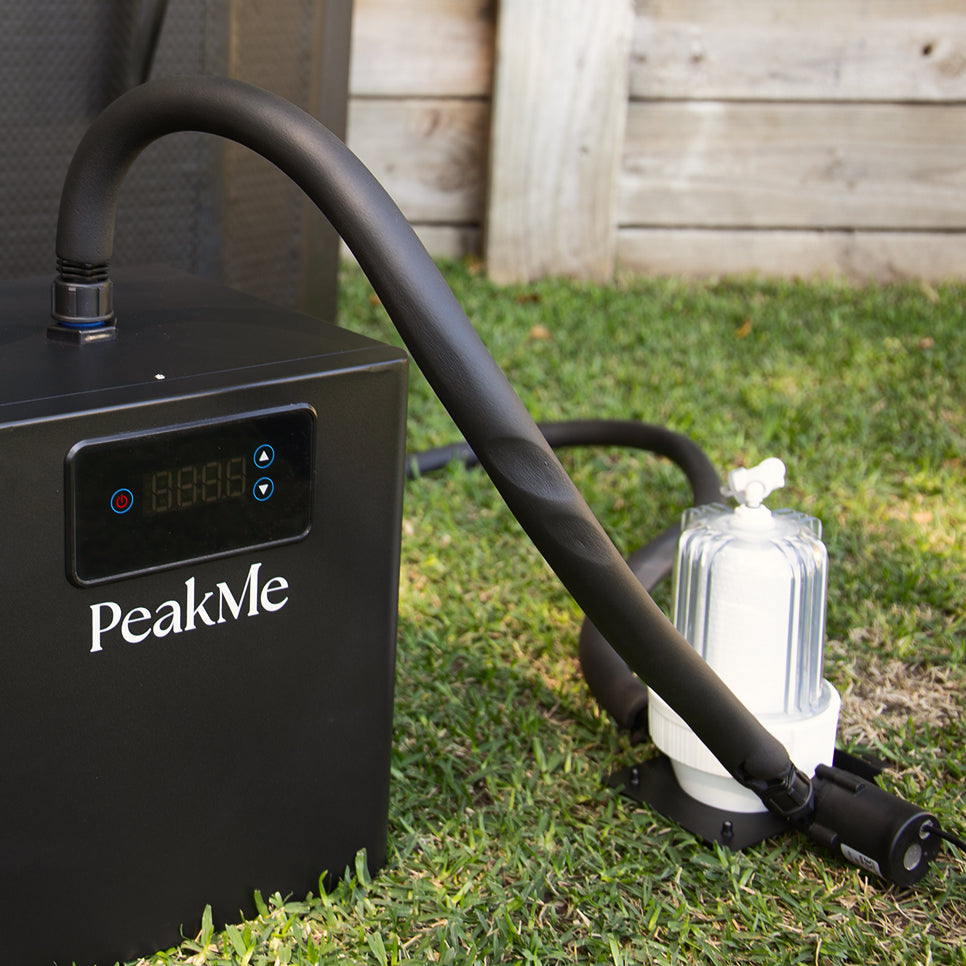
Connect Hose 3 (Smallest): from the Filter to the Chiller
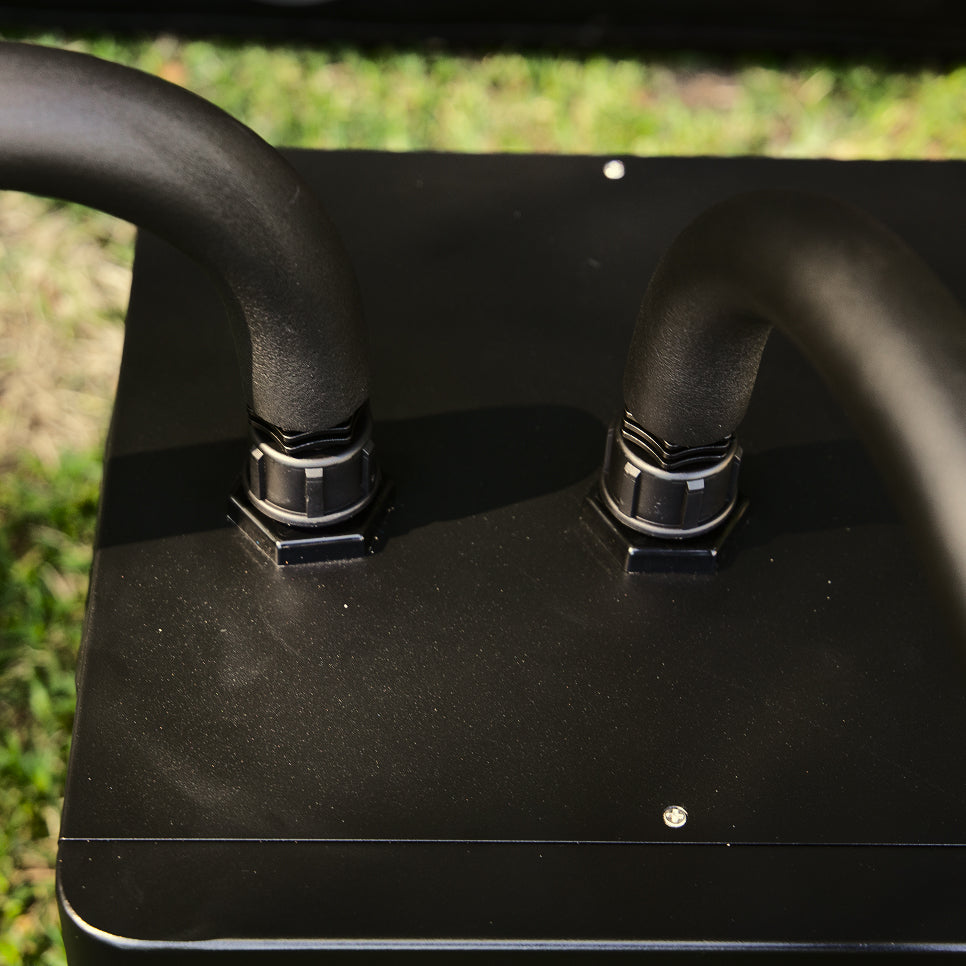
Review Connections: Both connectors for the Icon Chiller should look like this.
Start Circulation, Power On: Plug the chiller into a dedicated 220-230V outlet. Flip the switch on the back of the unit from “O” to “I”. Water will begin circulating. If you hear irregular noises, press the red air release button on the bottom of the filter to discharge trapped air.
Caution: Ensure Icon chiller has rested for 24 hours before turning on for the refrigeration gas to settle
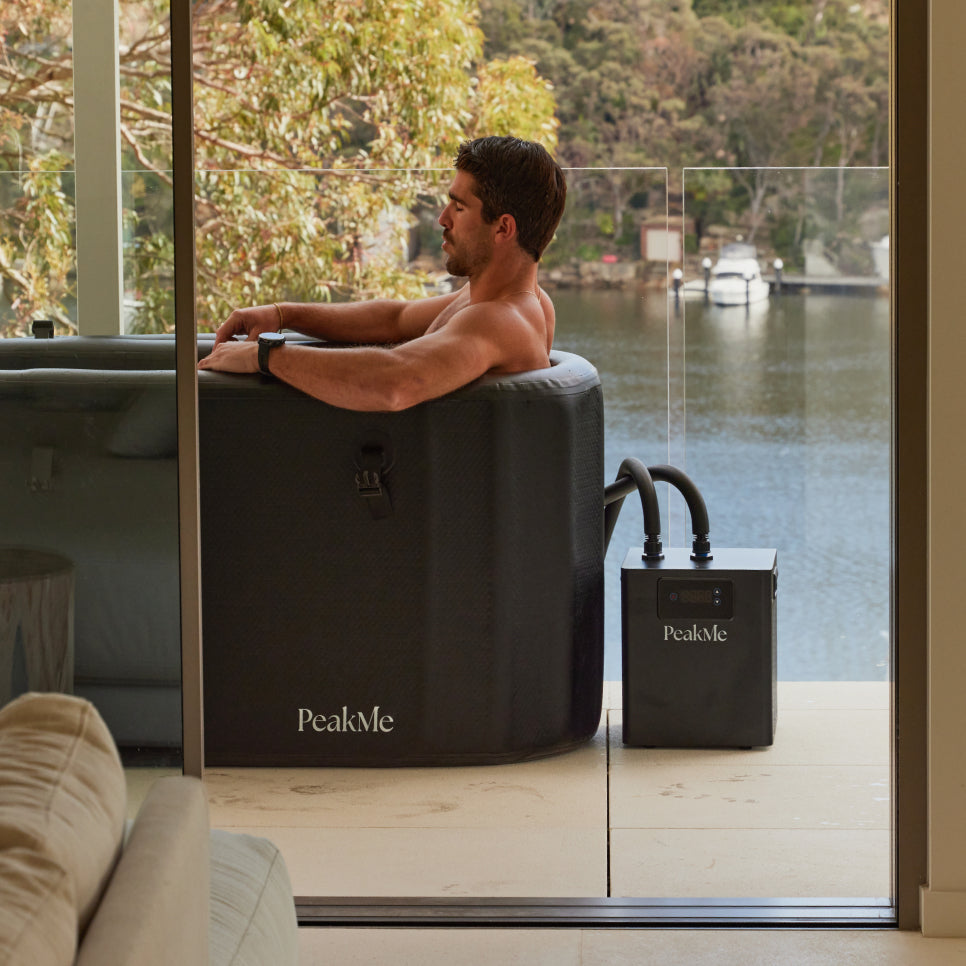
Wait: The green indicator light signals cooling is active and filtering will begin. This can take 3-5 minutes. The Icon Chiller can drop 250L from 27C to 5C in 10-15 hours, depending on the external environment temperature and cooling water volume.
How to change Tempreture
- (Default setting: starts cooling at 78°F, stops at 77°F)
- To Set Stop Temperature:
- Hold the SET button for 8 seconds.
- When the F1 code appears, press SET again to display the current stop temperature.
- Use the ▲ (up) or ▼ (down) arrows to adjust to your preferred stop temperature. - Note: The start temperature is automatically calculated based on the stop temperature + the system’s built-in differential (default: 1°F).
- Calibrating Displayed Temperature
- If the displayed water temperature differs from the actual measured temperature, you can calibrate the unit.
- To Adjust Temperature Display:
- Press the ▲ key again until F2 appears on screen.
- Press SET to enter calibration mode.
- Use ▲ or ▼ to correct the reading based on the error between actual water temp and displayed temp.
- Examples:
- If actual water temp is 77°F and display reads 76°F → set F2 to +1
- If actual water temp is 76°F and display reads 77°F → set F2 to -1
App Integration with Tuya Smart
Control temperature, timers and more via the Tuya App.
- Download the Tuya Smart App.
- Turn on the chiller and hold the power button until “OFF” appears
- Press and hold UP + DOWN together until “--” appears.
- Open the app (ensure Bluetooth is on), manually add the device.
- Connect to your 2.4GHz Wi-Fi and follow the prompts.